Migrating HyperV Gen2 Windows 11 VM To Proxmox
Prep Work On Windows 11 VM
- Make sure to turn off “Secure Boot” option in HyperV Management Console
- Convert multiple disk partitions into single disk
- Convert the disk into QEMU compactible format (https://www.starwindsoftware.com/blog/how-to-convert-hyper-v-to-kvm-vm)
Proxmox VM Creation
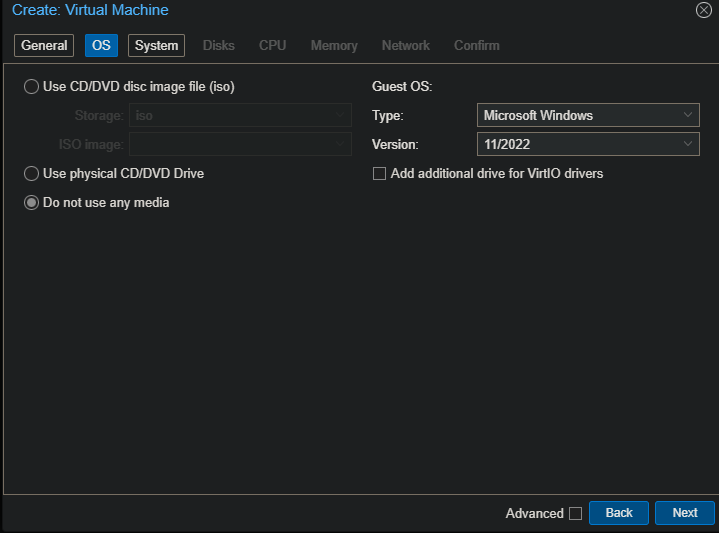
- Create a VM in Proxmox, OS Setting

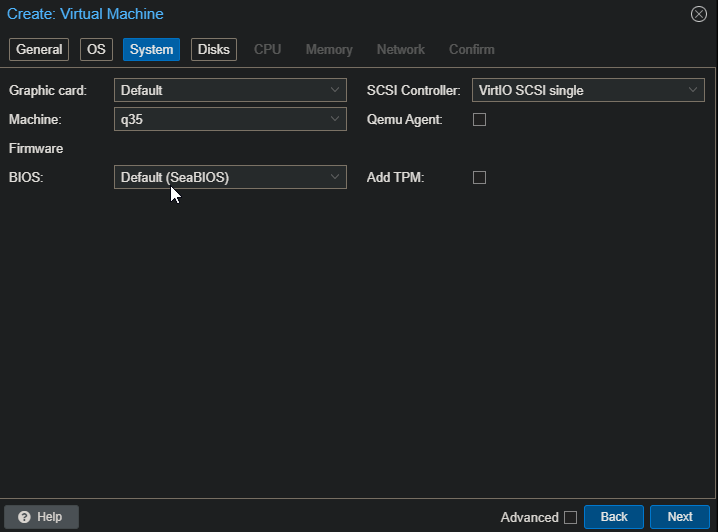
- Change the Machine type to
q35essentially QEMU will initiate a machine type of q35 with default emulated/virtualized devices
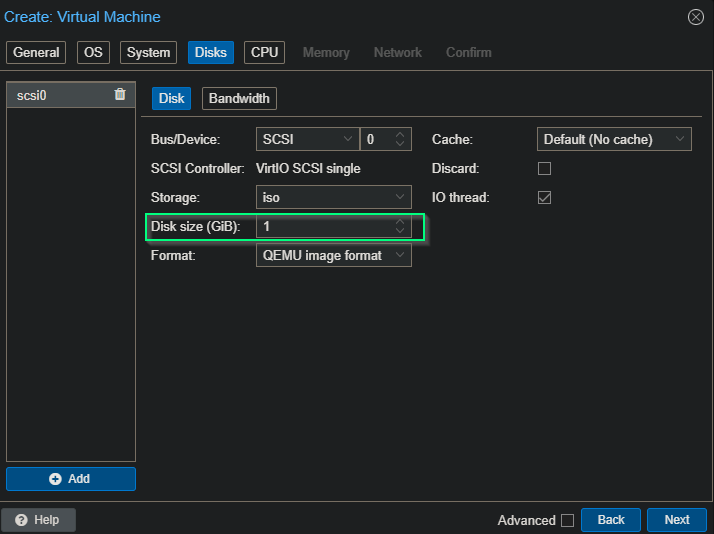
- Change the disk size to 1 GB

- Your preference on CPU, Memory, Network
Import The Image
- Move the converted image to Proxmox server
- run
qm disk import PATH_TO_IMAGE VMID STORAGE- In this case, I have created storage for all my vm images and called it
runimages. - I also created the VM described above with a unique VMID
999 - So in this case, the command turns into
qm disk import PATH_TO_IMAGE 999 runimages
- In this case, I have created storage for all my vm images and called it
Modifying The Imported Image
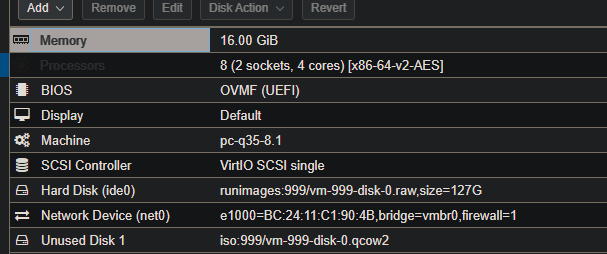
- Remove the previous configured disk (i.e, 1 GB disk during VM creation)
- Change the “Boot Order” to select our imported disk

Done!
This post is licensed under
CC BY 4.0
by the author.

